Your Cart (0)
Your cart is empty
Free express shipping
Drawer menu
Free express shipping

TL;DR:
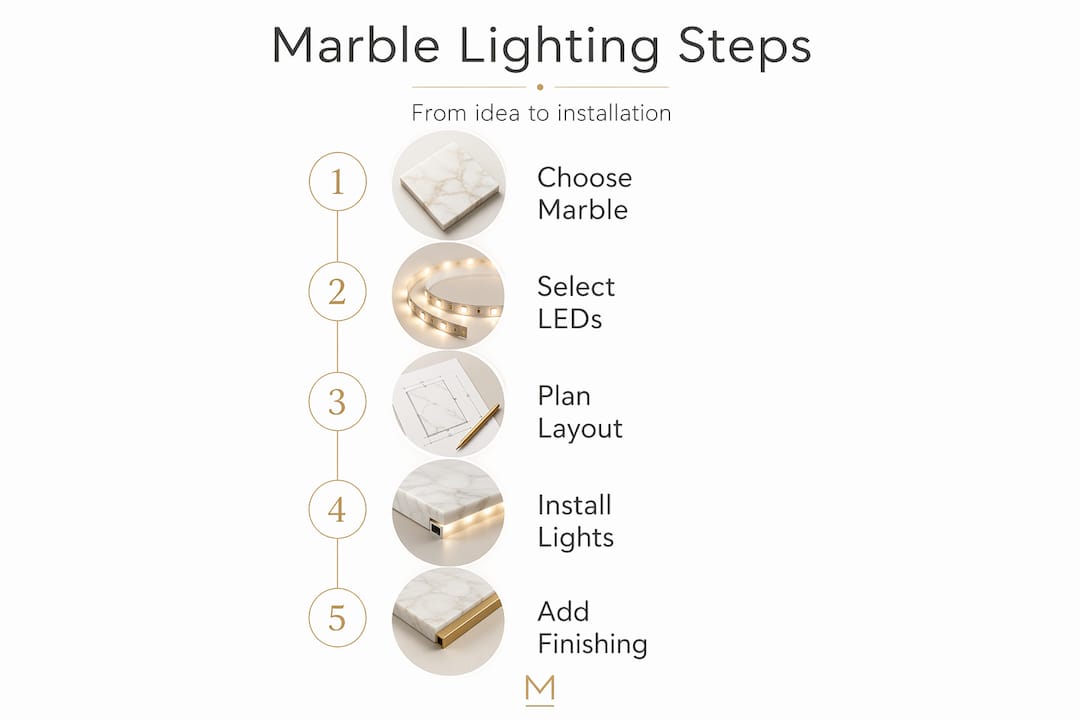
- Effective marble lighting transforms the material from static to dynamic by highlighting its depth and movement. Selecting the right translucency, color temperature, and layered lighting ensures an aesthetically pleasing and glare-free display. Proper planning, professional installation, and thoughtful design principles are essential for long-lasting, visually compelling results.
Marble has always commanded attention on its own. But when you learn how to integrate marble lighting effectively, something shifts. The stone stops being a static surface and starts reading like a living material, pulling warmth, depth, and movement through a room in ways that daytime alone cannot produce. The challenge most homeowners run into is treating lighting as an afterthought, something to bolt on after the marble is already installed. This guide walks you through the materials, installation steps, design principles, and troubleshooting strategies you need to get it right from the start.
| Point | Details |
|---|---|
| Start with material selection | Choose marble with the right translucency level before planning your lighting layout. |
| Route channels into substrate, not stone | LED strips should be installed in support channels to protect marble structural integrity. |
| Match color temperature to marble tone | Warm whites (2700K-3000K) suit beige marbles; neutral whites (3500K-4100K) suit white or gray stone. |
| Layer your lighting | Combining ambient, task, and accent sources prevents flat, uneven marble appearance. |
| Use dimmers and diffusers | These two tools prevent glare on polished surfaces and give you control over mood and ambiance. |
Getting the materials right before you start saves you from costly mistakes later. Not every type of marble behaves the same way under artificial light, and not every LED product is appropriate for stone integration.
The first question to ask is whether your marble is translucent enough for backlighting. Thinner slabs (10 to 20mm) of white or cream marble, such as Calacatta or Arabescato, transmit light beautifully. Darker, denser stones like Nero Marquina absorb much more light and work better with surface-mounted or directional fixtures rather than backlit panels.
For the lighting itself, LED strips for stone are typically 2 to 5mm thick, operate on low voltage (12V or 24V DC), and consume less than 10 watts per linear foot. That low profile and low heat output make them the only practical option for embedding near natural stone.
Here is a working checklist of materials and components:
For bathrooms, this is non-negotiable: fixtures must be rated for damp or wet locations. A standard dry-rated fixture in a steam-filled marble bathroom is both a safety risk and a warranty violation.
Pro Tip: Buy 15 to 20% more LED strip than your measured length. You will need to account for corners, trimming losses, and any sections that need to be replaced later without sourcing a discontinued product.
This is where most DIY marble lighting projects either succeed or fall apart. The sequence matters as much as the technique.
Before touching a single tool, map out your three lighting layers on paper: ambient (overall room illumination), task (focused work-surface light), and accent (highlighting marble features). Layered lighting that combines all three is the most effective way to showcase marble and prevent it from appearing flat or uneven under single-source light.

Follow these steps for a clean, safe result:
Compare how the approach shifts across different areas:
| Space | Primary technique | Key consideration |
|---|---|---|
| Kitchen island | LED under-counter backlighting | Space pendants 60 to 70 cm apart over island for even coverage |
| Bathroom vanity | Side-mounted sconces plus backlit mirror | Use only damp or wet-rated fixtures throughout |
| Living room feature wall | Backlit marble panel with concealed LED | Requires reinforced wall substrate for slab weight |
| Hallway or entry | Recessed ceiling spots plus floor-level accent | Grazing light reveals marble veining dramatically |
Pro Tip: For backlit translucent marble panels in living rooms or feature walls, professional integration requires reinforced substrate support and accessible maintenance panels. Plan for this in the framing stage, not as an afterthought.
Technical installation gets the lights on. These principles make them look intentional.
This is the detail most homeowners miss, and it makes an enormous visual difference. Warm white bulbs at 2700K to 3000K enhance the honey and beige tones in warmer marbles like Crema Marfil or Gold Emperador. Neutral white bulbs in the 3500K to 4100K range work best for white or cool-gray marbles like Statuario or Bardiglio, preserving their crisp, clean quality.
Mixing color temperatures within the same space creates an inconsistent marble appearance. Experts advise maintaining a consistent light tone throughout a room and layering sources rather than switching temperatures between fixtures.
Polished marble reflects light aggressively. Over-lighting polished marble causes excessive glare, and the fix is not reducing the number of fixtures. It is managing the quality of light through dimmer systems and diffused glass shades. A pendant with a frosted or opal glass shade throws a soft spread of light that complements a marble countertop far better than a clear-glass or exposed-bulb fixture.
Here are the key best practices for marble lighting design:
Even well-installed marble lighting systems develop issues over time. Here is what to watch for and how to address it.
Hot spots and uneven light: Usually caused by missing or damaged diffuser panels, or LED strips placed too close to the marble surface. Replace the diffuser or reposition the strip to sit at least 30mm behind the marble face.
Glare on polished surfaces: Add a dimmer if one is not already in place. Swap clear-glass shades for frosted alternatives. Diffused glass shades are consistently recommended to soften and control light on reflective stone.
LED flickering: Almost always a transformer compatibility issue. Confirm the transformer wattage rating exceeds the total LED strip wattage by at least 20%.
Damaged marble: Small chips or cracks can be repaired using specialized stone adhesive, which reattaches broken pieces while maintaining structural integrity and appearance. For larger fractures near lighting channels, consult a stone professional before attempting DIY repair.
When in doubt about electrical work near marble, hire a licensed electrician. The combination of water (in bathrooms especially), stone weight, and low-voltage wiring leaves no margin for improvised solutions.
I have seen a lot of marble lighting projects go sideways, and the pattern is almost always the same. Homeowners fall in love with a backlit marble image on a design board, then try to reverse-engineer it without accounting for what made it work. The substrate planning. The diffusion. The color temperature match. They get the marble installed first and the lighting second, and then wonder why it looks flat.
What I have found actually works is treating the lighting design as part of the stone selection process. When you choose your marble slab, hold a light source behind it right there in the showroom or warehouse. See how it transmits. See what the veining does. That single step tells you more about your lighting strategy than any design software.
The other thing I keep coming back to is the power of a single, well-placed accent light. Not a full LED backlighting system. Sometimes one carefully angled picture light or a floor-mounted uplight grazing a feature wall does more for a marble surface than six recessed fixtures overhead. Marble is a material that rewards restraint. The more you chase dramatic lighting effects with volume, the more you risk washing out the very thing you are trying to show.
My strongest recommendation: install dimmers on every marble-adjacent circuit before you decide you need them. You will need them.
— Nick
If you are ready to move from planning to purchasing, Marmorique carries a curated selection of natural stone lighting pieces that bring everything in this guide to life. From hand-crafted marble lamps to travertine accent pieces, each product is made from real stone and designed to work within the layered lighting setups described above. The collection also spans eco-conscious designs that make use of stone offcuts, given that only 25 to 30% of extracted natural stone becomes usable product. Browse the full range at Marmorique’s shop and find pieces that match your marble, your space, and your lighting vision.
Thin slabs (10 to 20mm) of white or cream marble like Calacatta or Arabescato transmit light most effectively. Darker, denser marbles absorb light and suit directional surface fixtures instead.
Use warm white (2700K to 3000K) for beige and honey-toned marbles, and neutral white (3500K to 4100K) for white or cool-gray marbles. Mixing temperatures in the same space creates an inconsistent look.
Space pendants approximately 60 to 70 centimeters apart over a symmetrical kitchen island. This spacing delivers even, balanced illumination across the marble surface without creating bright and dark zones.
For any work involving low-voltage transformers, circuit additions, or bathroom fixtures, a licensed electrician is the right call. Bathroom fixtures must specifically be rated for damp or wet locations to meet safety codes.
Install dimmer switches on any fixtures near polished marble and replace clear-glass shades with frosted or opal alternatives. Positioning fixtures at an angle rather than directly overhead also reduces reflective glare significantly.


